|
| |||||||||||||||||||||||
|
(Texture Mapping) Recall from the last page that our model was not "looking" very well. The arrows are pointing off at an angle and some are even bent out of shape.
This is nothing to panic about. Remember, when we define a face there has to be a texture to apply to it. BinEdit needs something, anything, that can do the job. In our case we used a little arrow. For you it can be anything, but it wont matter because whenever you define new faces the entire texture will be applied to it - one by one, face by face. This will happen for every face you define. When the faces are an odd shape, you will get this distortion effect - which, in most cases, is very easy, almost simple, to solve. Note : you can add a texture using SHIFT + T to each face, one by one. But rarely is that something you will want to do, and it may not solve the distortion. Instead, we will map a texture to a group of faces. The first thing we need to do is load a texture - if it's not already loaded.
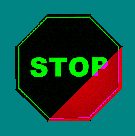
Browse to the one you want and click open. For this example, I will use the mtm1 stop sign (why not?).
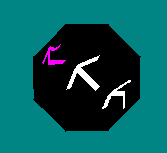
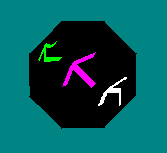
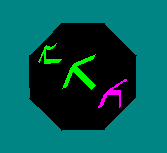
Now we must select the faces so that BinEdit knows which ones to map to the texture. To do this, press the SPACE BAR to cycle through the faces. Highlighted faces will be purple. When the face you want is highlighted (purple) press the F key to select it. Selected faces are green. Repeat this for all the faces you want to map. In this case there are only three. For example:
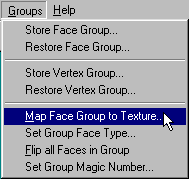
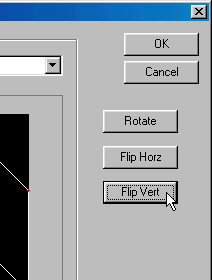
Are all the faces you want selected? Goto Groups>Map Face Groups to Texture:
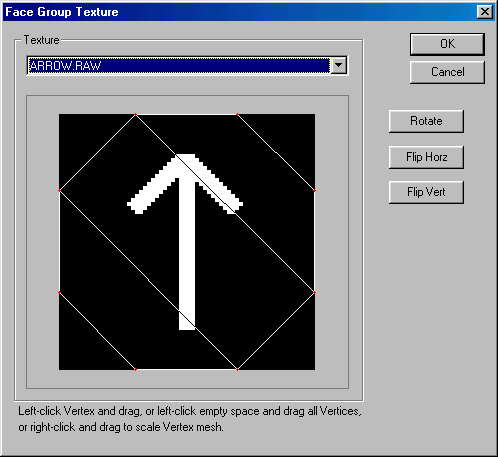
This will bring up the Face Group Texture box.
From the drop down texture menu, you will see a list of all the textures loaded into BinEdit.
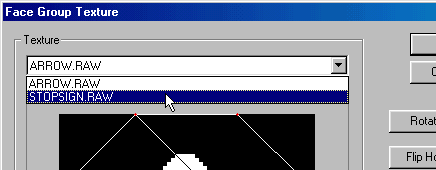
Select the one you want, in this case stopsign.raw. It will appear in the texture window.
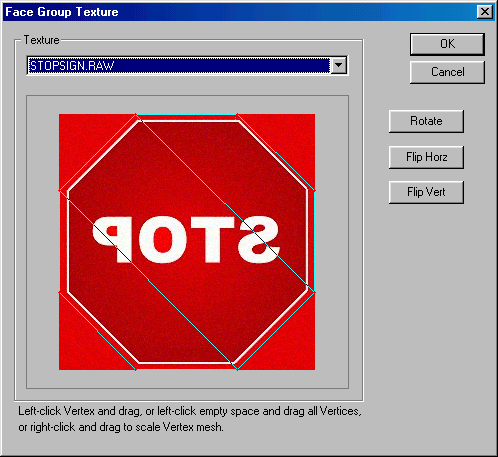
Click Ok to see how the texture maps to the faces.
As you can see, it is upside down and backward. No problem. Go back to Groups>Map Face Groups to Texture. Make sure your texture is still the one you want. Now use the "Rotate, Flip Horz, Flip Vert" buttons to change the way the faces are mapped.
In our example we will click "Flip Vert" once to correct the upside down problem and click "Flip Horz" once to correct the backward problem.
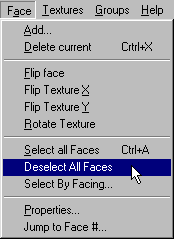
For your model you may have to experiment and play with it until it is right. Now, goto Face>Deselect All Faces
You're done - at least with this phase of your model.
Save your work. Three Texture Mapping Tips |